By: Amanda Carron
My favorite spot at WMSI, french-pressed coffee in hand, is sitting at a table that overlooks the constant and ever-flowing waters of the Ammoonosuc River. These water molecules, whether they be from snow melt, precipitation, run-off, or mountain spring, all keep moving forward as gravity directs their path. A majority of these molecules will continue flowing south hundreds of miles until they reach the Long Island Sound. The Connecticut River watershed is vast by New England’s standards, and I feel lucky to already have a connection to these waters. I stem* from a different section of the Connecticut River watershed in Massachusetts, playing in and enjoying the molecules that originated from Northern New Hampshire. I find comfort in these connections, and I hope to continue to grow and foster more connections as the new Program Coordinator for WMSI.
*pun alert

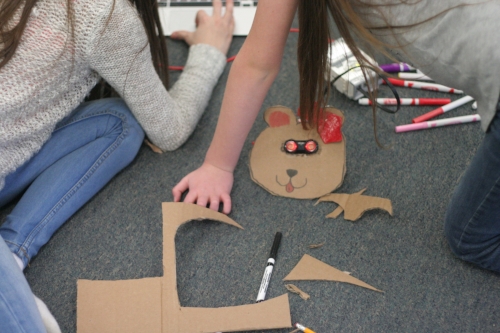
Riverside work at WMSI.
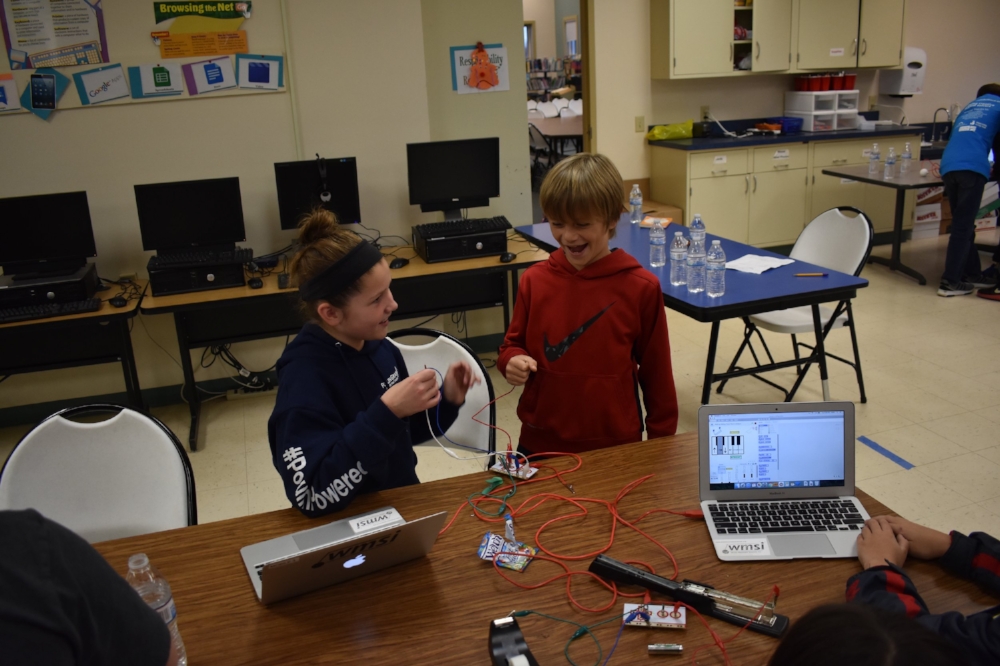
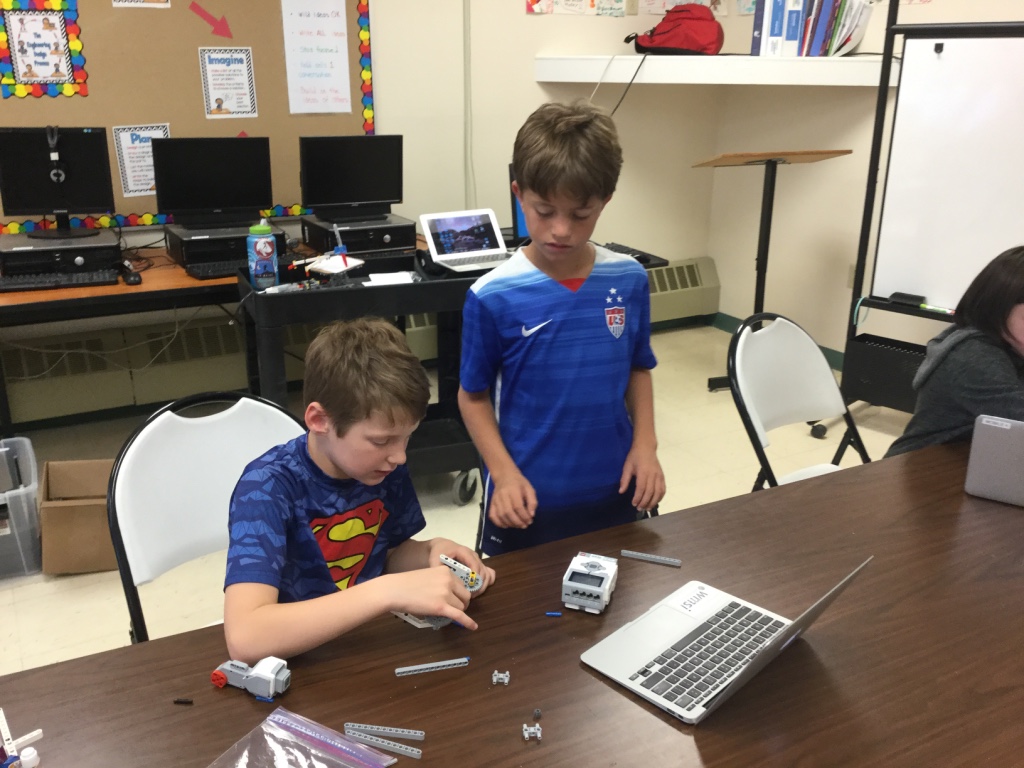
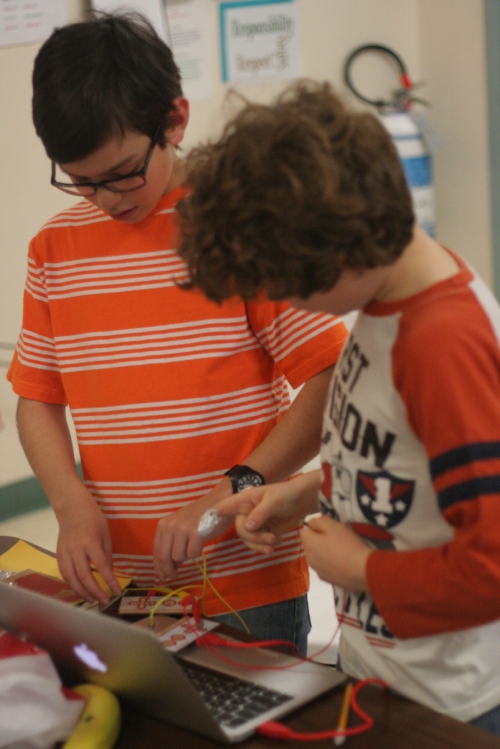
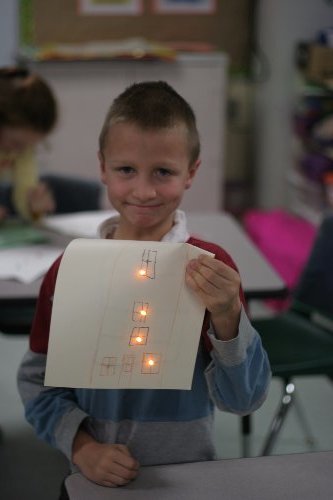
Figuring out my role, my niche, at WMSI has been an interesting adventure the past couple of weeks. I was fortunate enough to get a taste of WMSI’s Mobile STEM lab in Groveton and Whitefield, learning about EV3 robotics and Scratch. My professional background is in environmental and outdoor education, so I am very excited to learn more about WMSI, STEM programming, and all it has to offer. Like many of us, I am also learning to be adaptable in these strange times. Things I do know though: White Mountain Science Inc. is not only committed to continue creating opportunities and content in STEM education for all, but they are also a close-knit family that is happy to support all those who believe in it (even those who start a new position unknowingly during a global pandemic).

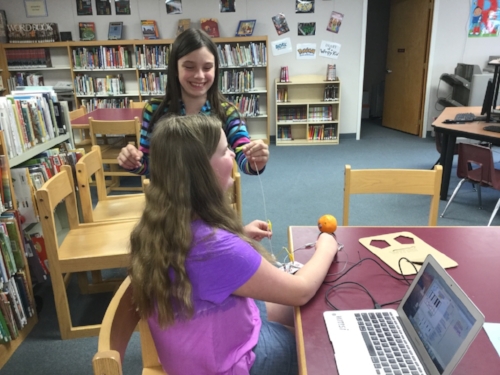
Facilitating a Scratch debrief in Whitefield.
As the water of the Ammonoosuc River continues to flow resiliently outside our windows at WMSI, so does our work towards supporting the community through remote, quality STEM education. I am hoping to learn from the water during these troubling times: stay connected, be more present as spring arrives, and keep moving forward.